Last week of hands on project.
In this class I was learning how to Paper making, Screen printing and Batik.
Beginning of the section, our tutor was telling us about health and safety and what we would be doing, after that we can start working on what we wanting to do between screen printing and batik. I choose to do batik because it's quick and easy to do.
This workshop is one of my favourite workshop because i used to do work in this workshop for my final piece from last week so i know quite few things in this workshop. However i also learning new techniques in this lesson, such as how to paper making, puff binder, embroidery and heat transfer.
This workshop is one of my favourite workshop because i used to do work in this workshop for my final piece from last week so i know quite few things in this workshop. However i also learning new techniques in this lesson, such as how to paper making, puff binder, embroidery and heat transfer.
Batik
Materials that I need or was be using is procion dye, paint paint brush, wax pot, wax tjanting tool, paper and fabric. Even though it may be hard to draw with free hand but it's also ok to draw with pencil but it's must be really light. First thing that i did is drawing an hand lightly with the pencil, after that, i was making sure the wax in wax pot is all melted and ready to be use and another thing to remember is tjanting tool is also warm. After making sure everything is ready, I started to draw on the paper, this techniques require a lots of patient because the wax is quickly dry after it got remove from the wax pot so i always have to put the tjanting back into the wax pot, then i paint on top using procion dye to make it looks colourful and interesting.
Screen Printing
Screen Printing
After done a few of batik, i choose to do screen printing.
Material that i would need to be using is squeegee, hose pipe, screen, fabric and black/white paper. First thing that i did was puts blank paper under the screen, after that i put the print on the screen, after that use the squeegee slides up and down 2-3 times, lift the screen up and then check your print. You should get the print that you wanted on screen.
Example of how to do screen printing:
Example of how to do screen printing:
   |
  |
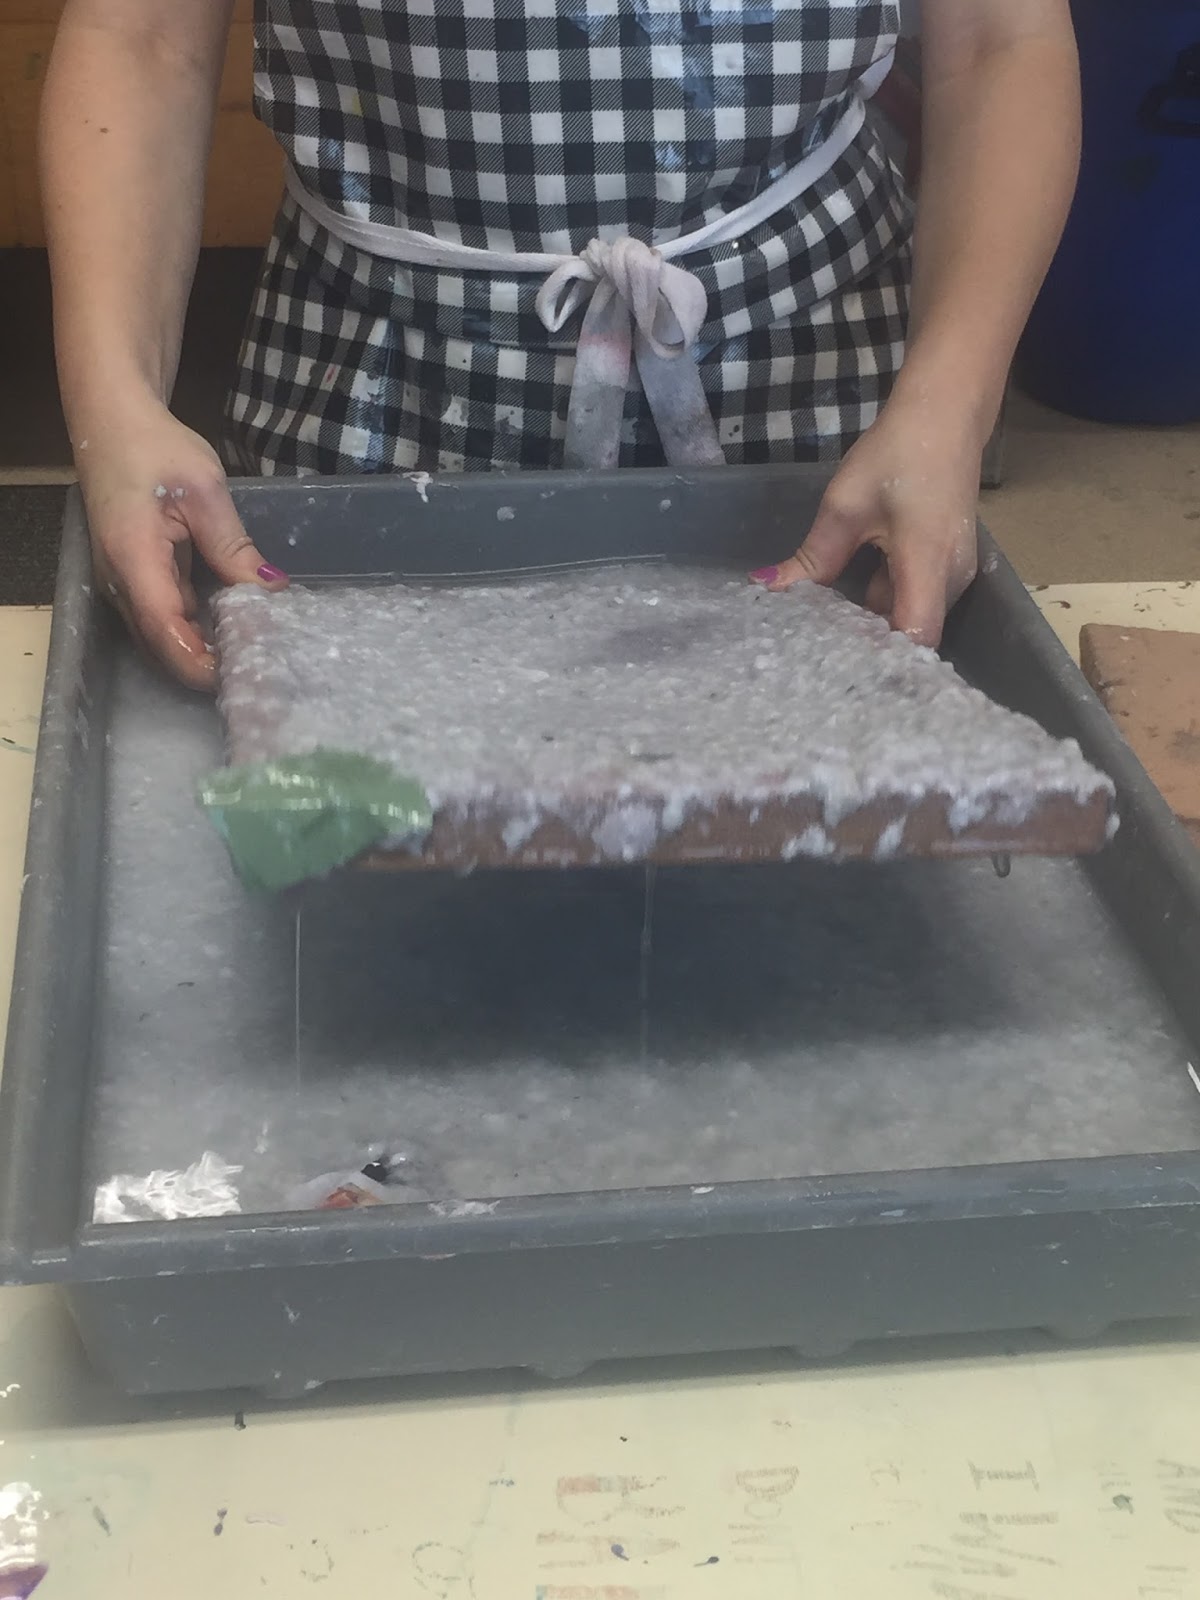
Paper making
Material that i need to use is frame, paper pulp, j-cloth and sponge.
the first thing that i did was getting all the materials ready , put the paper pulp ready in the water, after that get a frame, put it down in the draw where paper pulp is in, lift it up trying to get rid of the water then cover it with j-cloth then flip the frame to other side on the table, use a sponge to get rid of the water from the frame, gently remove the frame from the paper pulp and i got the my own paper making. All I have to do right now is waiting for it to dry before i can use it.
Example of how to make paper making:


Example of how i made Heat Transfer:


Health and Safely

No comments:
Post a Comment